
最近在迁移我用来开发编译的服务器,因为之前安装各种编译用的应用,而这些应用又有各自的依赖,搞的系统里面的各种环境越发混乱。趁着这次迁移服务器想着看看能不能解决这个问题,最开始想要使用 Docker 来为不同的工程创建专属的开发镜像,但发现环境搭建以及文件权限管理任然很复杂。
后来在上网冲浪时突然发现了一个工具—— Nix 包管理器,这是一个函数式包管理器和构建工具,它以其可重复性、隔离性和声明式配置而闻名。Nix 可以根据配置文件,定制开发或编译环境,且这些开发环境可以在任何设备上复现,并且 Nix 将包安装到一个特定的子目录中,每个包都是隔离的,所以一个包不会干扰另一个包。了解到这些特性后顿觉它或许会满足我的需求,因此便决定开始尝试使用 Nix。
本来只打算在我常用的 Debian 上直接安装 Nix,但看网上的教程都是基于 NixOS 的,所以还是直接使用 NixOS 来作为我的开发环境吧。因为参照网上的其他安装教程还是遇到了一些坑,所以这里还是自己记录并分享一下我的安装过程。
手动安装
NixOS 的安装镜像可以在官网下载页面挑选适合自己的版本下载,分为带图形界面的与最小安装镜像,因为我的机器性能有限且没有图形界面的需求,所以我用的是 Minimal ISO image,目前最新的版本为 25.05。
因为我是在 PVE 中安装所以我这里就不介绍如何制作安装介质以及设置引导,直接就从进入到 NixOS Live CD 开始。
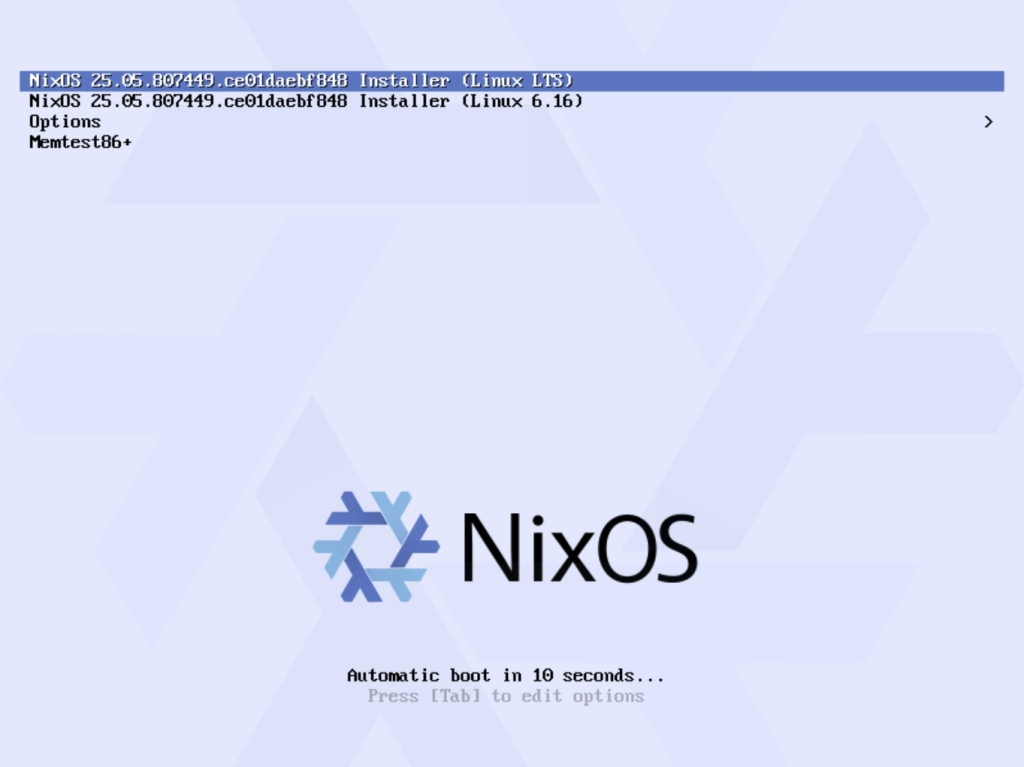
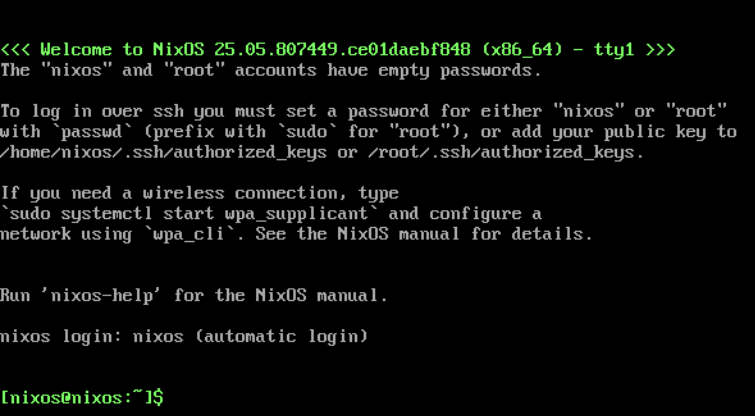
启动后首先看到的是一个包含不同安装程序选项的菜单,这里保留默认设置并等待倒计时(或按 Enter 键加快速度),随后会系统启动到安装命令行中。
看其他的安装教程有说到 NixOS 的安装需要连接网络获取软件包,而访问境外服务器可能会遇到连接问题,所以也许需要设置镜像源,但我在实际安装过程中并无这样的问题所以就没有配置镜像源。
创建分区
在进行系统安装前首先需要对设备磁盘进行分区,使用的是 parted 工具进行分区的完整过程如下:
[nixos@nixos:~]$ lsblk # 查看磁盘设备
NAME  MAJ:MIN RM  SIZE RO TYPE MOUNTPOINTS
loop0   7:0    0  1.5G  1 loop /nix/.ro-store
sda     8:0    0   32G  0 disk
sr0    11:0    1  1.6G  0 rom  /iso

[nixos@nixos:~]$ sudo parted /dev/sda # 对 /dev/sda 进行分区
GNU Parted 3.6
Using /dev/sda
Welcome to GNU Parted! Type 'help' to view a list of commands.
(parted) mklabel gpt # 创建 GPT 分区表
(parted) mkpart primary 1MiB 2MiB # 创建 BIOS Boot 分区
(parted) set 1 bios_grub on # 设置分区标记
(parted) mkpart primary linux-swap 2MiB 2GiB # 创建 SWAP 分区,可以根据需要修改大小
(parted) mkpart primary 2GiB 100% # 剩余全部空间用于创建 Linux 根分区
(parted) p # 打印当前分区
Model: QEMU QEMU HARDDISK (scsi)
Disk /dev/sda: 34.4GB
Sector size (logical/physical): 512B/512B
Partition Table: gpt
Disk Flags:

Number  Start   End     Size    File system     Name     Flags
 1      1049kB  2097kB  1049kB                  primary  bios_grub
 2      2097kB  2147MB  2145MB  linux-swap(v1)  primary  swap
 3      2147MB  34.4GB  32.2GB                  primary

(parted) quit # 结束分区设置
Information: You may need to update /etc/fstab.
上面共创建了三个分区,分别为:
/dev/sda1:BIOS Boot 分区,用于存放 GRUB 的核心代码;/dev/sda2:SWAP 分区,系统虚拟内存;/dev/sda3:Linux 根分区,存放跟文件系统与用户数据。
这里因为我的安装环境是使用 SeaBIOS,而我看到的教程都是使用 UEFI 的,所以在分区时遇到了一个坑,就是在 BIOS + GPT 情况下,GRUB 需要一个 1–2MiB 的 bios_grub 分区(类型 EF02 或标志 bios_grub on)来存核心代码,也就是需要创建上面的 /dev/sda1 分区。
分区格式化
新分区创建完成之后,还要对分区进行格式化。BIOS Boot 分区无需格式化,而对于 Linux 根分区我没有快照之类的需求所以没有选择使用 btrfs 文件系统,而是使用 ext4 格式。
格式化过程如下:
[nixos@nixos:~]$ sudo mkswap /dev/sda2 # 设置 SWAP 分区
Setting up swapspace version 1, size = 2 GiB (2145382400 bytes)
no label, UUID=a68f40b8-fc4a-482d-af9b-03a66245255a

[nixos@nixos:~]$ sudo swapon /dev/sda2 # 启用 SWAP 分区

[nixos@nixos:~]$ sudo mkfs.ext4 /dev/sda3 # 格式化根分区为 ext4 格式
mke2fs 1.47.2 (1-Jan-2025)
Discarding device blocks: done
Creating filesystem with 7864064 4k blocks and 1966080 inodes
Filesystem UUID: c4b86f33-5548-4388-8eb5-992e75db9aa0
Superblock backups stored on blocks:
        32768, 98304, 163840, 229376, 294912, 819200, 884736, 1605632, 2654208,
        4096000

Allocating group tables: done
Writing inode tables: done
Creating journal (32768 blocks): done
Writing superblocks and filesystem accounting information: done
挂载分区
在系统安装是安装程序会将根文件系统的内容(/bin, /lib, /etc, /usr …)写入根分区中,因此这里需要把它挂载到当前的 Live CD 环境中。
[nixos@nixos:~]$ sudo mount /dev/sda3 /mnt创建 NixOS 配置
NixOS 是一个根据配置文件生成系统的发行版,因此需要将当前状态生成配置到目标系统中:
[nixos@nixos:~]$ sudo nixos-generate-config --flake --root /mnt
writing /mnt/etc/nixos/hardware-configuration.nix...
writing /mnt/etc/nixos/flake.nix...
writing /mnt/etc/nixos/configuration.nix...
For more hardware-specific settings, see https://github.com/NixOS/nixos-hardware.
nixos-generate-config 命令会根据系统检测到的硬件和分区创建初始配置文件,这里额外添加了 --flake 选项,是为了启用 NixOS 的 Flakes 支持,与 NixOS 默认的配置方式相比,Flakes 提供了更好的可复现性,同时它清晰的包结构定义原生支持了以其他 Git 仓库为依赖,具体 Flakes 的详细介绍这里不过多赘述。
hardware-configuration.nix:此文件包含自动检测到的硬件设置,例如文件系统挂载、交换分区和设备 UUID。 它通常不会直接修改,因为它可能会被将来调用 nixos-generate-config 覆盖;configuration.nix:这是主配置文件,可以在其中定义系统的设置、包、服务和其他自定义项;flake.nix:这是 Nix flakes 的核心组件,是 Nix 包管理器和 NixOS 操作系统中的一项实验性功能。 它充当定义 Nix 项目的输入(依赖项)和输出(flake 生成的内容,例如包、NixOS 配置或开发环境)的声明性入口点。
修改配置
对于 BIOS 模式启动,我们必须设置 boot.loader.grub.device 选项来指定 GRUB 引导加载程序应安装的磁盘,如果没有它,NixOS无法启动。
使用文本编辑器(例如 vim 或 nano)打开 /mnt/etc/nixos/configuration.nix 修改配置内容如下:
# Edit this configuration file to define what should be installed on
# your system. Help is available in the configuration.nix(5) man page, on
# https://search.nixos.org/options and in the NixOS manual (`nixos-help`).

{ config, lib, pkgs, ... }:

{
  imports =
    [ # Include the results of the hardware scan.
      ./hardware-configuration.nix
    ];

  # Use the GRUB 2 boot loader.
  boot.loader.grub.enable = true;
  # boot.loader.grub.efiSupport = true;
  # boot.loader.grub.efiInstallAsRemovable = true;
  # boot.loader.efi.efiSysMountPoint = "/boot/efi";
  # Define on which hard drive you want to install Grub.
  boot.loader.grub.device = "/dev/sda"; # or "nodev" for efi only

  networking.hostName = "nixos"; # Define your hostname.
  # Pick only one of the below networking options.
  # networking.wireless.enable = true;  # Enables wireless support via wpa_supplicant.
  # networking.networkmanager.enable = true;  # Easiest to use and most distros use this by default.

  # Set your time zone.
  time.timeZone = "Asia/Shanghai";

  # Configure network proxy if necessary
  # networking.proxy.default = "http://user:password@proxy:port/";
  # networking.proxy.noProxy = "127.0.0.1,localhost,internal.domain";

  # Select internationalisation properties.
  i18n.defaultLocale = "en_US.UTF-8";
  # console = {
  #   font = "Lat2-Terminus16";
  #   keyMap = "us";
  #   useXkbConfig = true; # use xkb.options in tty.
  # };

  # Enable the X11 windowing system.
  # services.xserver.enable = true;

  # Configure keymap in X11
  services.xserver.xkb.layout = "us";
  # services.xserver.xkb.options = "eurosign:e,caps:escape";

  # Enable CUPS to print documents.
  # services.printing.enable = true;

  # Enable sound.
  # services.pulseaudio.enable = true;
  # OR
  # services.pipewire = {
  #   enable = true;
  #   pulse.enable = true;
  # };

  # Enable touchpad support (enabled default in most desktopManager).
  # services.libinput.enable = true;

  # Define a user account. Don't forget to set a password with ‘passwd’.
  users.users.username = { # Change "username" to your own username
    isNormalUser = true;
    extraGroups = [ "wheel" ]; # Enable ‘sudo’ for the user.
    shell = pkgs.bashInteractive;
    packages = with pkgs; [
      tree
    ];
  };

  # programs.firefox.enable = true;

  # List packages installed in system profile.
  # You can use https://search.nixos.org/ to find more packages (and options).
  environment.systemPackages = with pkgs; [
    vim # Do not forget to add an editor to edit configuration.nix! The Nano editor is also installed by default.
    wget
  ];

  # Some programs need SUID wrappers, can be configured further or are
  # started in user sessions.
  # programs.mtr.enable = true;
  # programs.gnupg.agent = {
  #   enable = true;
  #   enableSSHSupport = true;
  # };

  # List services that you want to enable:

  # Enable the OpenSSH daemon.
  services.openssh.enable = true;

  # Open ports in the firewall.
  # networking.firewall.allowedTCPPorts = [ ... ];
  # networking.firewall.allowedUDPPorts = [ ... ];
  # Or disable the firewall altogether.
  # networking.firewall.enable = false;

  # Copy the NixOS configuration file and link it from the resulting system
  # (/run/current-system/configuration.nix). This is useful in case you
  # accidentally delete configuration.nix.
  # system.copySystemConfiguration = true;

  # This option defines the first version of NixOS you have installed on this particular machine,
  # and is used to maintain compatibility with application data (e.g. databases) created on older NixOS versions.
  #
  # Most users should NEVER change this value after the initial install, for any reason,
  # even if you've upgraded your system to a new NixOS release.
  #
  # This value does NOT affect the Nixpkgs version your packages and OS are pulled from,
  # so changing it will NOT upgrade your system - see https://nixos.org/manual/nixos/stable/#sec-upgrading for how
  # to actually do that.
  #
  # This value being lower than the current NixOS release does NOT mean your system is
  # out of date, out of support, or vulnerable.
  #
  # Do NOT change this value unless you have manually inspected all the changes it would make to your configuration,
  # and migrated your data accordingly.
  #
  # For more information, see `man configuration.nix` or https://nixos.org/manual/nixos/stable/options#opt-system.stateVersion .
  system.stateVersion = "25.05"; # Did you read the comment?

}
上面是我自己的配置内容,除了BIOS 模式启动必须设置 boot.loader.grub.device 选项外,其他内容都可以根据自己的需要进行修改,也可以完全不修改使用默认配置,后面系统安装完成后仍然可以随时修改系统配置。
安装 NixOS
最后,开始部署系统:
[nixos@nixos:~]$ cd /mnt

[nixos@nixos:/mnt]$ sudo nixos-install
copying channel...
building the configuration in /mnt/etc/nixos/configuration.nix...
these 246 derivations will be built:
  /nix/store/0cw3s005gyh3v10sd9wv0lj00ybni440-mount-pstore.sh.drv
  /nix/store/0cxq5axa7ff81vjcqv2gdrx7wqra6x20-etc-netgroup.drv

...

building '/nix/store/vh9inlgw32820f7h8wz5vgnm84qpfx1g-etc.drv'...
building '/nix/store/8vm2zmmkdzgdk8gwfww2liim4wn902vj-nixos-system-nixos-25.05.807449.ce01daebf848.drv'...
/nix/store/xb9hfiaq8axjnayrwydh7rh8yniqch47-nixos-system-nixos-25.05.807449.ce01daebf848
installing the boot loader...
setting up /etc...
updating GRUB 2 menu...
installing the GRUB 2 boot loader on /dev/sda...
Installing for i386-pc platform.
Installation finished. No error reported.
setting up /etc...
setting up /etc...
setting root password...
New password:
Retype new password:
passwd: password updated successfully
installation finished!
在系统部署的最后会提示设置 root 用户的密码,根据提示设置即可。
到此,NixOS 的安装也基本完成,只需重启系统(注意需要调整启动项,断掉安装介质)即可。
设置用户密码(可选)
在上面的配置 /mnt/etc/nixos/configuration.nix 中我添加了一个普通用户:
  # Define a user account. Don't forget to set a password with ‘passwd’.
  users.users.username = { # Change "username" to your own username
    isNormalUser = true;
    extraGroups = [ "wheel" ]; # Enable ‘sudo’ for the user.
    shell = pkgs.bashInteractive;
    packages = with pkgs; [
      tree
    ];
  };
在进入系统之前也可以利用 nixos-enter 程序对该用户的密码进行设置,过程如下:
nixos-enter程序是NixOS的一部分,在系统运行之前,它会提供一个shell,脚本会挂载api文件系统,如/proc,并设置目标系统的配置文件和/etc。
[nixos@nixos:~]$ sudo nixos-enter
setting up /etc...

[root@nixos:/]# passwd username # 注意修改 "username" 为你的用户名
New password:
Retype new password:
passwd: password updated successfully
BIOS 模式安装遇到的坑
前面创建分区部分有提到,因为我的安装环境使用的是 SeaBIOS,因此需要创建 BIOS Boot 分区。而我一开始在遵循其他教程时是按照 UEFI 介绍的,因此我在 nixos-install 时出现如下错误:
warning: this GPT partition label contains no BIOS Boot Partition; embedding won’t be possible.
warning: Embedding is not possible. GRUB can only be installed in this setup by using blocklists. However, blocklists are UNRELIABLE and their ue is discouragted.
installation of GRUB on /dev/sda failed: No such faile or directory
Failed to install bootloader
只需要在创建分区时分出一个 1MB 左右的 BIOS Boot Partition(分区类型 EF02)即可正常完成安装。